Saturday, January 29, 2011

Rainy Day Fun

Today it is pouring rain... what better time than this to have a family craft day?! Steve and the kids drew on blocks of wood and then painted them to look like cars. In March, the boys will be in a wooden car race with cars they make at Pioneer Clubs. So, for fun today, they were working on designs for that.


I was getting things ready for my club on Monday night (there's still room if you want to join!! Just a $25 product purchase per month, and the class is free!). I'll post those cards on Monday. The kids and Steve were at the island, and I had my stuff spread out on the kitchen table. Amazingly, it was all cleaned up before we had lunch. The cars are drying and my projects are complete!

Wednesday, January 26, 2011

Valentine's Decorations

I wanted to do a fun Valentine's banner with my daughter, so I thought of the Heart punch by Stampin' Up!. We started punching and I quickly realized that this wasn't as big as I had imagined. So I traced a bunch of larger hearts onto cardstock, and she cut them out. Blue, red, kraft and purple. Most of the purple ones got added on the end because she said, "I don't think girl colours should be added in beside the boy colours." Whatever child, it is your banner!!

It goes all along one wall just below the ceiling in her bedroom. She is very proud of it, and she strung the hearts onto the red grosgrain ribbon all by herself!

Elise took a scrap from my stamping room and said, "Mom, I need you to write on this for me. Put, 'I love you the best Jesus' on here and then I'm going to add it to my heart banner." Well, be still my heart, what a little nugget! So she picked the red heart for it to go on, and then declared the banner complete!

Mine is not nearly as impressive, but I still decided to finish the one I started because I had all those little hearts punched out of beautiful patterned paper, so I didn't want them to go to waste.

Since it was smaller than I originally envisioned, I put it in the bathroom and not in my front entry way. I am thinking some decorated hearts on the pegs of my "Bathroom" sign will finish off the decorations in this bathroom. I changed out the candles for some pink ones. My goal is to paint this little main floor bathroom before too much more time passes. I would like it to be blue. A nice peaceful light blue. That's part of the reason I'm not too concerned about putting more pinholes in the wall!


It was a fun little project, and it makes me want to do a larger pennant style banner. Maybe even out of fabric! Oh, the possibilities are endless!!!!

Saturday, January 22, 2011

A Link for you

I just came across this free Valentine's e-book. Some very cute ideas in here! Click on the link below...

Cupid's Handmade Crafts e-Book


More Birthday Pages...

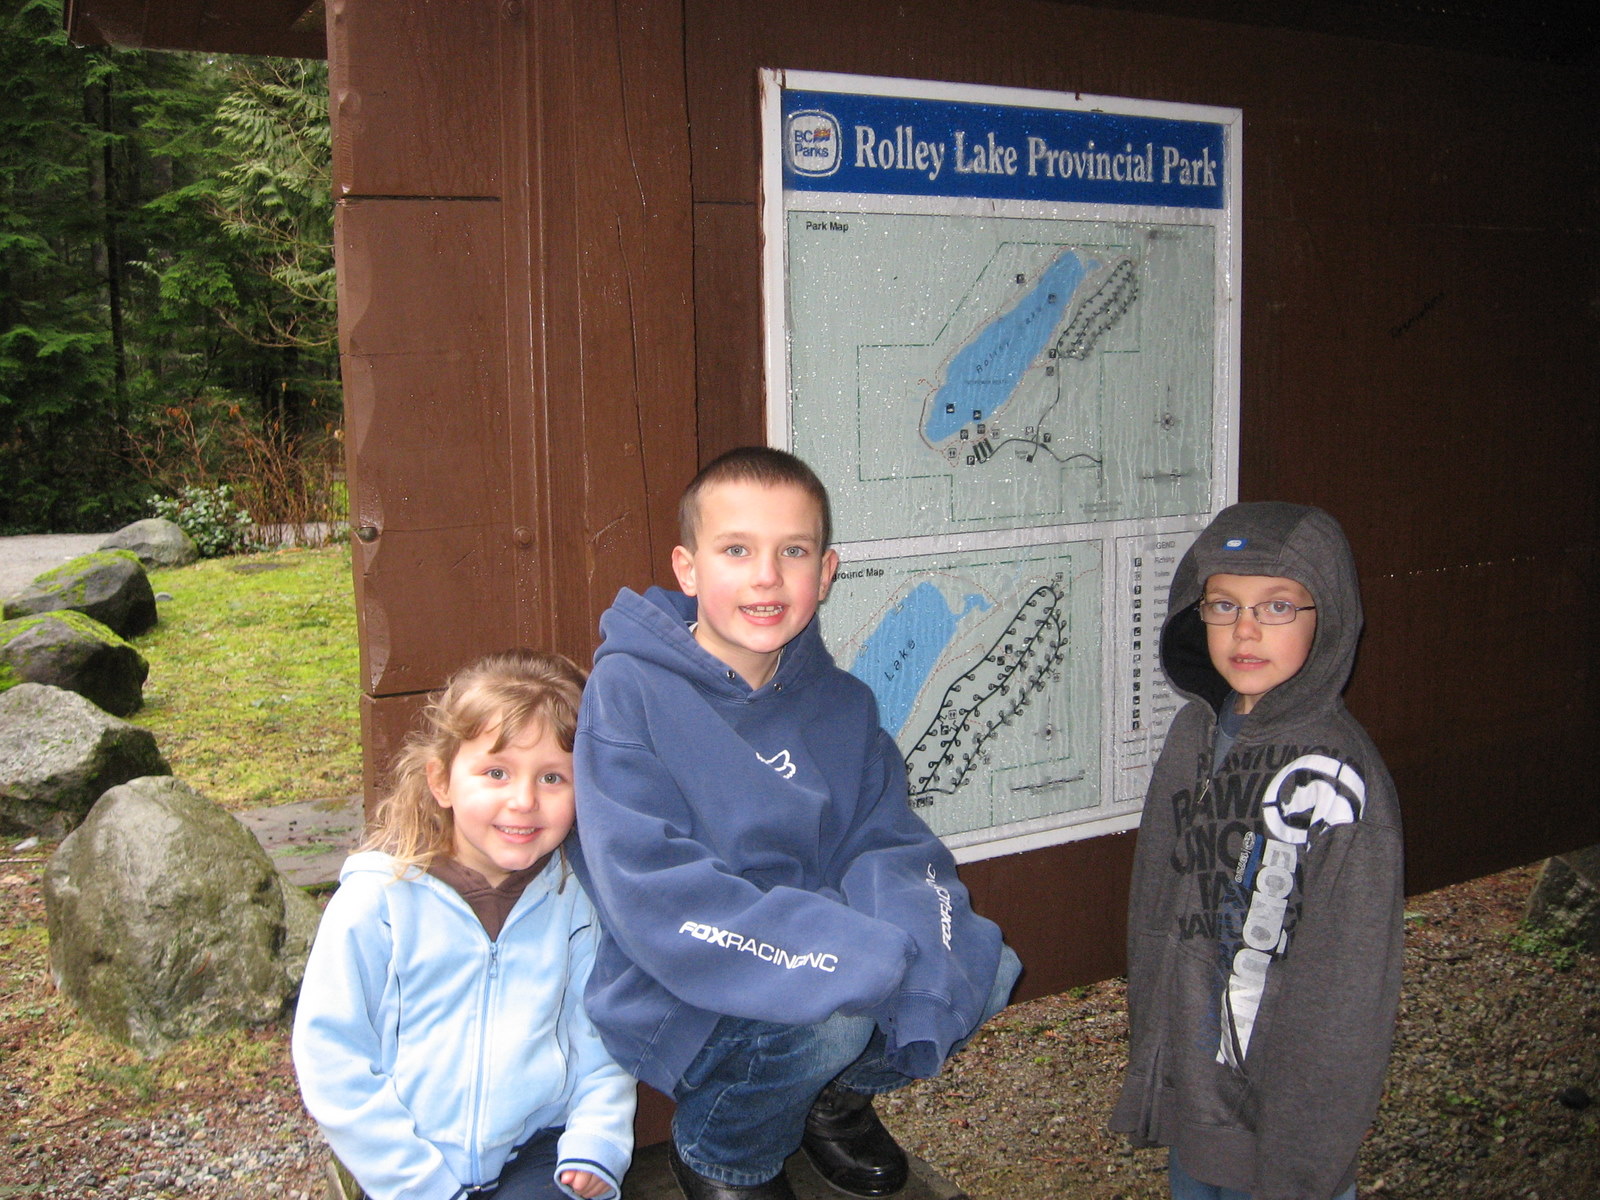
Here is another layout I did last night. I made the pagemap after I did the page. I like putting a lot of photos on a page, as I stated in the last scrapbooking post, and this page layout allows for 11 photos... enough pictures to nicely tell almost any story. I only matted one photo, and I think that is enough - every photo does not have to get the same treatment. This page doesn't really have a title, but you could easily add one in somewhere. I guess "E" is the title, and then on the second page, I've put a chipboard number 4, and that helps tell the story that it is Elise's 4th birthday.


The "e"s all over the place are some pre-made stickers that I found along the way and I had in my sticker drawer. I like the layers on them. Sometimes stickers can add a special touch, and I have quite a collection... my husband might call it a fetish. I have a whole drawer full :)

Here's a little tip... since I only scrapbook on one side of my paper (some people scrapbook on both sides to save paper, but I don't always scrapbook in order that the photos were taken, so I sometimes have to rearrange pages in a scrapbook) the backs of my pages are blank... unless... I do this - extra journaling that I remember from the day, or extra photos (that don't fit on the layout, and won't make sense alone somewhere in another book) or in this case, a Strawberry Shortcake birthday card that Grandma gave to Elise. Since it so perfectly fit the theme, I wanted it to stay with the page. I didn't have room for it on the front of the layout, so I attached it to the back. Down the road, it will be discovered and read again, and it is tucked in safely behind the page until that time!

I don't usually do my journaling all by individually stamped letters, but I was watching a movie, (Sabrina) and I was all done the rest of the layout, with the journaling being the last thing... there were still 20 minutes left in the movie - enough time to fiddle around with letters, but not enough time to start another project. So, instead of using computer font, or handwriting, this layout got very crooked stamped write-up! (but since it's for a 4-year old's page, I kind of like the messy look!)

Photo idea - take a close up of something on the cake and have it beside the full photo. I don't have a "girly girl" but she likes Strawberry Shortcake... I think it's the hat and the green striped tights. They don't look "princessy" - and E is really not into princesses right now!

The different coloured stripes on the bottom half of the page below are just strips of cardstock. A good way to use up scraps, and still get the feel of designer paper, but this way you can make it custom colours to match your photos. I mimicked the stripes on the pinata. I included the photos of Elise with the pinata even though they were taken a few days before the party - she played with that thing like it was a pet... I wonder what was going through her head when she then had to smash it to bits. Kind of like when we had pet sheep growing up, and the next thing we knew they were in the freezer! haha! Maybe not quite the same thing!

A little spring card

I heard today that we are now halfway through Winter. Spring is on its way!!!! Here's a card to get you in the mood for Spring :)

Friday, January 21, 2011

Club Night will now be MONDAYS

I decided to switch my Stampers club get togethers to Mondays because there were several people that had schedule conflicts... seems like Tuesdays are the popular day this year for people to plan things! And I thought I was being so clever by avoiding Wednesdays and Fridays!

If you are interested in joining, and the last Monday of each month, starting January 31st (unless it's a holiday, then we'll go the Monday before that one) works for you. Please let me know and I will save one of the last couple spots for YOU!

If you are unfamiliar with Stampers Clubs and have questions about how this works, ask away!

Wednesday, January 19, 2011

MDS to the rescue!!

Ok, I think I found a way to do this. I was trying to get 2 photos to post side by side, with no luck.... so, I did it a different way. I am feeling so clever because it only too about 3 seconds to do this. I made a space for 2 photos on a single digital page in MDS, then added my completed layouts as photos on that page. I saved it to a file and cropped it in Picasa, and voila - it is now on my blog.

Thanks to the ladies that suggested editing 2 photos together - I am sure this isn't how you meant me to do it, but photoshop is too fancy for me! You probably think I did it the hard way, but it worked!

Just click on the photo to see the double layout enlarged.

Digi pages by me

And here are the pages that I came up with last night. (check out Scott's pages in my last post!!) I also did 2 double layouts in traditional scrapbooking, but I will post those tomorrow after I take some pics in the daylight. I forgot to take pics of them today.


I have been trying to get my pictures to post side by side, but with no luck. A couple friends suggested I just merge the 2 photos into 1 in an editing program, so I will mess around with that on another day. If you know how to get 2 individual photos to post side by side in blogger, I would love to know your secret!!!

Digital Pages

My son Scott saw me working on some projects in "My Digital Studio," and he asked if he could try. Hey, why not! Even better than him taking paper, right? (although, I really don't mind my kids using my papercrafting supplies as long as they ask first, which they are very good about doing.)

Here are the 2 pages that he made. Even though I have already scrapbooked his 7th birthday party, I think I will go ahead and get these printed for him :) I love how he added a little dog, and the layout and colours he chose. Not bad for his first digi page, eh?!


Some more Springtime

Springtime in blues....

Monday, January 17, 2011

Stamps about Sewing

What could be better than throwing my 2 favourite hobbies into one craft project?! Love the "Oh Sew Suite" category in the Occasions Mini catty. The colours are fun, the designs are sweet and there is fabric, stamps, embellishments, paper, and more! This suite is so well coordinated and laid out.

Here is a super fast and easy card I made the other night for a friend....


A few little deets:
Ink: Early Espresso
Paper: So saffron and Melon Mambo
Ribbon: Marina Mist
122009 Sew Suite Clear-Mount (wood mount: 121933)
121781 Sweet Stitches Designer Paper
113792 Great Friend Stamp Set

Sunday, January 16, 2011

A Real Nature Walk!

After my last post about the set called "Nature Walk" we took a real one!!


Yesterday, we went for a family hike in beautiful BC. We hiked the 5K loop around Rolley Lake. It was a perfect day. The forecast was for rain, and we beat the rain by about 2 minutes. We had literally just gotten back into our truck after the hike, and the kids were still buckling up, and the heavens opened and the rains came down... it hasn't stopped raining since!

Here are a couple pics...


Wednesday, January 12, 2011

Stampers Club!!

I am so excited to be offering Stampers Clubs again.
We will meet on the last Tuesday of each month, starting this month. If you are interested, please let me know and I will give you all the details!

Coffee Sleeves

Here is one of the latest things I've been making - Environmentally friendly coffee sleeves. I did up a bunch of these before Christmas to give out along with Tim Hortons and Starbucks gift cards. I sold a bunch at the craft fair I was in earlier in the Fall, as well. They are reversible, too :)


Great for cold drinks, too!


The ones made of flannel are 2 layers, and the ones made with cotton fabrics are 2 layers of cotton and one layer of quilting to resist the heat (or cold!).

I sell them for $4 each or 3 for $10. If you are wanting little gifties to have on hand, give me a shout and I'd be glad to send you some. I have lots of different designs available, and I can take requests, too. Shipping is extra and I accept Paypal.

Friday, January 07, 2011

Have you heard???


The Stampin' Up! Occasions Mini catalogue is here and available to order from. Click on the link below and browse away... Contact me if you would like to order anything, or visit my website 24/7 and be inspired by the samples there, or place an online order.

Happy Stamping!

OCCASIONS MINI CATALOGUE LINK

SHOP NOW!!

MDS Calendar #5

Here are the last few pages of the calendars. I think I will have to make one for myself now!!

With the MDS program, you can change a photo to sepia right in your creating process, so you do not have to worry about editing that sort of thing ahead of time. Also, if you add a photo that you forgot to edit out the red eyes.... MDS will take care of that for you, too! Just click on the red eye correction option.


Thursday, January 06, 2011

Until next time....

Christmas is done. I packed the last of it away this afternoon. The tree, the ornaments, the lights, the wreath on the door. But Christmas is so much more than the decorations. Christmas is a celebration. A season of giving, and the best gift is Jesus.


When my kids saw me putting stuff away, they got sad. One said, "I'm not done looking at it." I know how they feel. I love Christmas. But that's a good reason to put up my decorations in November so we can look at them for more than just the Christmas break. But then I said, "It's time to get on with the New Year." To that my child replied, "Well, Easter's coming!" That is something to be thankful all over again for! Easter is coming... what started at Christmas with a baby in a manger was completed at Easter with the Risen King!

We were away for the week after Christmas, so my decorations sat here unappreciated for 8 whole days. That justified it for me - I left them up until last night! This morning, the kids woke up to piles. Lots of them. I had sorted ornaments, and disembranched our tree (I know that's not a word, but you get the idea!).

But... I had to wait to put them away. My set wasn't complete. I have enough decorations, but every year, my collection grows by at least one thing. For the last 10 years, I have been collecting special little men. They tell a story and I love how they look on my piano. This year, I looked for a Nutcracker to complete my set for 2010, and I could not find one. I only started my search long after Christmas was over, because while we were on holidays I only looked in one store.

After searching through the Christmas clearance tables at 3 different stores, I ran into a relative in the parking lot. I told her what I was looking for, and she said, "Oh! Last night, I saw Nutcrackers at Home Outfitters for 70% off." I ran back to the truck and headed over to that store... I found him. He was the last one of his kind. I got him for about $4.00. This was my only Christmas decoration purchase for myself this year. The only one. I don't think that's happened before!

Here he is.....

I now have 13 Nutcrackers.

MDS Calendar #4

A few more pages...